|
In order to insert an image, simply press the  (Image) button on the toolbar. The Image Properties dialog window that will open lets you set configuration options that define image source, its size, display properties, or other advanced properties. (Image) button on the toolbar. The Image Properties dialog window that will open lets you set configuration options that define image source, its size, display properties, or other advanced properties.
To insert an image from the website, click the Browse Server button. In the new window choose the folder that the image is in and then choose the image name. This will insert the proper image info into the Image Properties window. You can also upload an image or create a new folder at the bottom of the Browse Server window. Once the image is uploaded to the website you can select it. You can also upload images to the website using the File & Image manager in the admin area of the website.
The Image Properties dialog window includes three tabs that group image options:
Image Info
The Image Info tab is the default tab that opens after you press the button on the toolbar. It allows you to set the image URL and configure the way it will appear in the document.
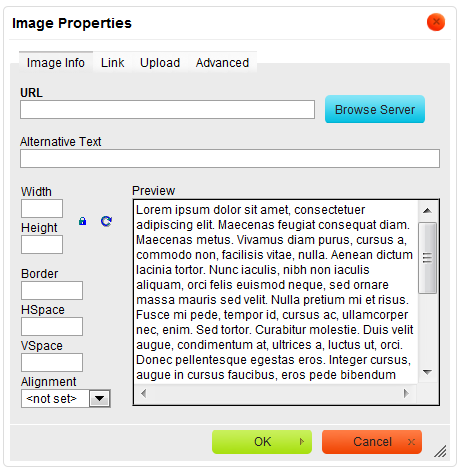
Image Info tab of the Image Properties window
Below is an overview of all Image Info tab elements:
-
URL – the web address of the image. The image may be located on the same server as the web site you are currently in or on an external server.
-
External server: If you want to use an external address, use the full absolute path.
-
Example:
-
http://example.com/image1.jpg
-
Local server: If the image is located on the same server, you can use an absolute path that omits the domain name and starts with a slash.
-
Example:
-
/images/image2.jpg
-
If CKEditor is integrated with a file browser (like CKFinder), you can also use the Browse Server button to select an image from the ones that are available on the server.
-
Alternative Text – a short textual description of the image that tells users with assistive devices (like screen readers) what the image is about. You should always provide your images with meaningful alternative text in order to make it accessible to users with disabilities.
-
Width – the width of the image in pixels. By default this is the size of the original image.
-
Height – the height of the image in pixels. By default this is the size of the original image.
-
Border – the size of the solid border around the image in pixels.
-
HSpace – the horizontal spacing (or margin) between the image border (if present) or the image itself and other document elements that surround the image, in pixels.
-
VSpace – the vertical spacing (or margin) between the image border (if present) or the image itself and other document elements that surround the image, in pixels.
-
Align – the alignment of the image in the document. Available options are Right and Left.
-
Preview – a preliminary view of the selected image formatted according to the options chosen on the left.
Image manipulation
With CKEditor you do not have to worry about resizing your image.
If the image is too big, you can alter its dimensions by entering new values into the Width and Height fields. By default the image ratio is locked, which you can see thanks to a  button. This means that when you change one of the size values (width or height), the other one will be adjusted automatically. button. This means that when you change one of the size values (width or height), the other one will be adjusted automatically.
If you want to freely modify both dimensions, click the button in order to unlock the ratio. The button will now change to  and modification of one dimension will not automatically cause the other one to be adjusted. To lock the image ratio again, click the button once more. and modification of one dimension will not automatically cause the other one to be adjusted. To lock the image ratio again, click the button once more.
You can easily return to original image size by pressing the  button. This will reset the image size; the original width and height will now appear in appropriate text boxes. button. This will reset the image size; the original width and height will now appear in appropriate text boxes.
Link
The Link tab lets you assign a link to an image inserted into the document, effectively converting the image into a clickable link. The link can point to any kind of object available in the Internet, like a simple URL address, a PDF document, or an online video.
This might prove especially useful if, for example, you want to add a thumbnail that would lead the reader of your document to a full-size copy of the image or add a company logo and point to its website.
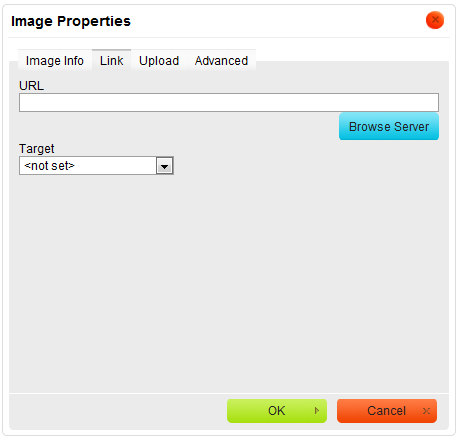
Link tab of the Image Properties window
To use the Link functionality, first you need to insert an image into a document using the Image Info tab. After you configure the display options, switch to the Link tab and configure the image target using the available options.
Below is the overview of all Link tab elements:
-
URL – the web address that the image should be pointing at. This may be a plain website address, an image, or other file that is located on the same server as the web site you are currently in or on an external server.
-
External server: If you want to use an external address, use the full absolute path.
-
Example:
-
http://example.com/
-
http://example.com/largeimage1.jpg
-
Local server: If the target location is on the same server, you can use an absolute path that omits the domain name and starts with a slash.
-
Example:
-
/howto/images
-
/images/largeimage2.jpg
-
If CKEditor is integrated with a file browser (like CKFinder), you can also use the Browse Server button to select an image or a file from the ones that are available on the server.
-
Target – the window where the assigned link will open after clicking the image. You can choose between New Window (
_blank), Topmost Window (_top), Same Window (_self), or Parent Window (_parent).
If you want to edit an image that is connected to a link, use the context menu and choose the Image Properties option. The Image Properties window will let you modify both the image and the link that it is pointing to. If you double click such image instead, you will open the Link dialog window that will only allow you to edit the link properties and not the image itself.
Upload
The Upload tab of the Image Properties dialog window allows you to send your own images to the server. It is only visible if the server accepts files uploaded by the users and CKEditor is integrated with a file browser (like CKFinder).
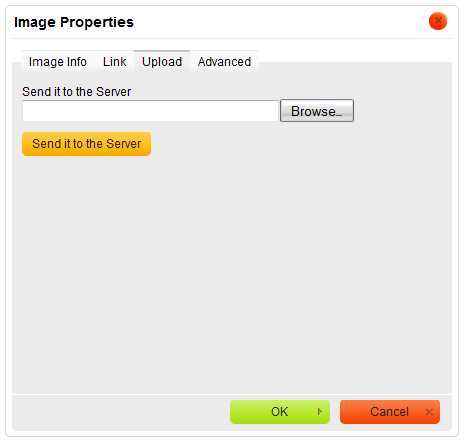
Upload tab of the Image Properties window
To upload an image file, click the file input field or the Browse button next to it. When the file browser of your operating system opens, navigate to an appropriate folder and choose a file by double clicking it or using the Open button. To send the file to the server, click the Send it to the Server button of CKEditor.
Advanced
The Advanced tab lets you configure additional image options such as assign it an ID, a class, a longer description, a tooltip, or CSS style properties. It is meant for advanced users with knowledge of HTML as well as CSS, and gives nearly endless possibilities as far as the presentation of the image is concerned.
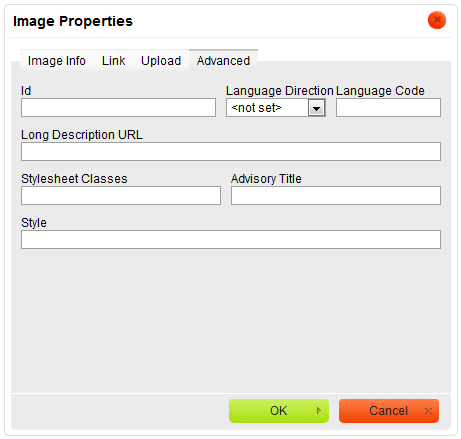
Advanced tab of the Image Properties window
Below is the overview of all Advanced tab elements:
-
Id – a unique identifier for an image element in the document (
id attribute).
-
Language Direction – the direction of the text: left to right (LTR) or right to left (RTL) (
dir attribute).
-
Language Code – the language of the image element specified according to RFC 1766 (
lang attribute).
-
Long Description URL – the web address of an HTML page containing a longer description of the image (
longdesc attribute).
-
Stylesheet Classes – the class of the image element (
class attribute). Note that an image element might be assigned more than one class. If this is a case, separate class names with spaces.
-
Advisory Title – the text of the tooltip that is shown when the mouse cursor hovers over the image (
title attribute).
-
Style – CSS style definitions (
style attribute). Note that each value must end with a semi-colon and individual properties should be separated with spaces.
|


.png)